
At first glance, the AeroPress can seem almost too simple to be interesting: a plastic tube, a plunger, and no buttons or screens at all, which many people actually like. That plain design hides a lot of range, though. In the right hands, it can brew coffee that surprises even longtime coffee fans, including people who thought they’d already tried everything this small brewer had to offer. This introduction marks the start of exploring AeroPress techniques that elevate simple brewing into something truly versatile.
Most people start with the scoop-and-pour method printed on the box. The coffee is fine. Then someone brings up inverted brewing or longer steep times, and suddenly things feel less neat, sometimes literally. Questions pile up fast. Does grind size matter more than brew time? How much does the water ratio really change the cup? Most of the time, it’s a mix of all of it.
The guide walks through AeroPress techniques step by step, beginning with the basics and slowly adding more advanced methods as confidence grows. Each change is explained in plain language, with clear notes on how it affects the cup, like bitterness, body, or clarity. Practical AeroPress recipes are included so readers can start brewing at home right away.
This article is for real home brewers: beginners chasing better cups, tinkerers who like changing one variable at a time, DIY coffee fans who enjoy hands-on control without pricey gear, and curious drinkers who want to know what’s going on in the cup.
At CoffeeMindset, great coffee is tied to clear, simple knowledge, built up carefully so each step is easy to taste and understand.
Understanding AeroPress Techniques and Brewing Basics
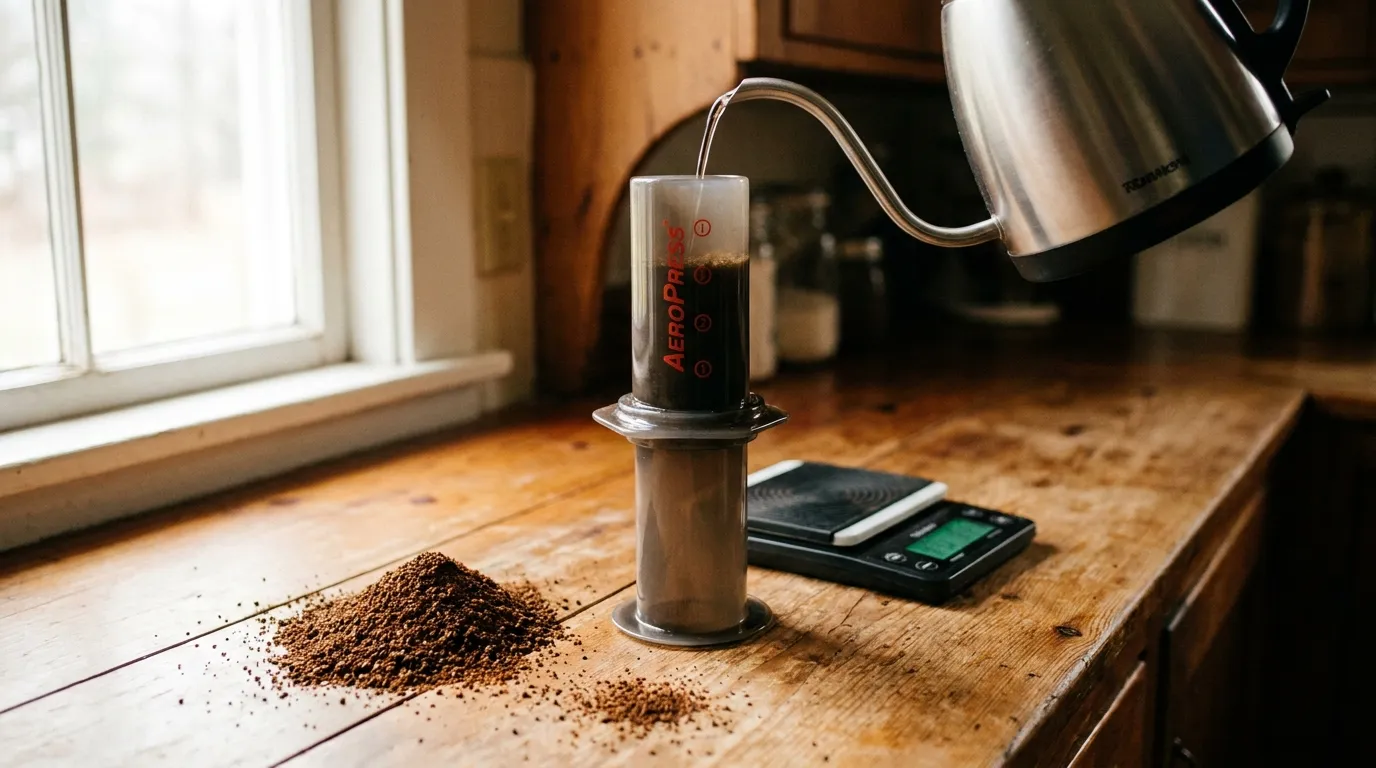
The AeroPress keeps things simple. Coffee and water steep together, then get pressed through a filter, no pumps, no plumbing. That simplicity gives brewers a lot of control, with some room for error. Compared to drip methods, it’s easier to make changes as you go, which helps when you’re learning or brewing before you’re fully awake.
Most AeroPress recipes follow the same base idea. Brew times are short, usually one to two minutes. Pressure stays light, well below espresso, and the ratios stay close to drip coffee. The result is a smoother cup with less of the sharp bite people often notice in overdone brews.
Here are the core settings most brewers start with. These numbers come from the manufacturer and a mix of competition recipes and coffee extraction research. They’ve been tested in everyday use, not just lab work.
| Brew Variable | Typical Range | Why It Matters |
|---|---|---|
| Water temperature | 175, 185°F (80, 85°C) | Lower heat reduces bitterness |
| Coffee ratio | 1:13, 1:16 | Balances strength and clarity |
| Brew time | 1, 2 minutes | Controls extraction level |
| Pressure | 0.5, 1.0 bar | Gentle press avoids harsh flavors |
| Acidity vs drip | About 1/5 | Smoother taste for many drinkers |
Those basics explain why AeroPress coffee feels different from pour over. Lower temperatures and shorter contact cut down harsh acids, while light pressure adds body without extra bitterness. The balance feels easier to repeat.
For beginners, keeping the same ratio and water temperature matters more than chasing small tweaks. A slow, even press helps too. Even small changes show up clearly in the cup.
The Classic AeroPress Method, Step by Step
Upright brewing defines the classic method. It fits easily into daily routines because it’s fast, clean, and easy to repeat. On busy mornings, it makes good coffee without turning into a whole project. Many longtime brewers come back to this approach because it stays simple and reliable over time.
The details matter, but none are hard to handle. A medium-fine grind, close to the feel of table salt, works well here. The usual ratio is 15 grams of coffee to 225 grams of water. Water heated to about 180°F sets things up nicely without stressing the coffee or the person making it.
Start with a paper filter in the cap and rinse it with hot water. This clears out any paper taste and warms the brewer at the same time. Add the coffee to the chamber next, then place the brewer right on top of your cup.
Pour water all the way to the top. Give it a gentle stir for about 10 seconds so everything mixes evenly. Insert the plunger to stop dripping, then let the coffee sit until it reaches one minute.
The press should feel slow and controlled, taking about 20 to 30 seconds. Once you hear the hiss, stop. Pressing past that point doesn’t help.
The result is a clean, balanced cup with clear flavors that work well for light and medium roasts. If the coffee tastes sour, try a slightly finer grind or a longer brew. If it’s bitter, a coarser grind or cooler water often helps. Small tweaks make the method easier to understand.
Inverted Brewing for More Control
Flipping the AeroPress upside down changes how the whole brew feels. Early dripping goes away, so you get to decide the steep time. That’s why this method shows up so often with experienced home brewers and competitors who like to fine‑tune and stay hands‑on with each step.
The setup is easy. The plunger slides slightly into the chamber, then the brewer is flipped so the open end faces up. Coffee and water go in next, followed by a gentle stir. After that, it just sits and steeps, with no pressure yet. You’ll notice how relaxed the process feels.
A common inverted recipe uses 18 grams of coffee and 200 grams of water at a medium‑fine grind. After a 1 minute 30 second steep, the brewer is flipped onto the cup and pressed slowly. That final press rewards patience, not force.
In the cup, inverted brewing often brings more body and sweetness. Since all the water stays with the coffee the whole time, extraction stays even instead of changing mid‑brew. Many brewers find it forgiving, especially with longer steeps, and immersion research backs up the idea of a more balanced result.
The flip is where most spills happen. Using two hands and practicing over a sink builds confidence fast, and once it clicks, the process feels calm and controlled.
Competition-Inspired AeroPress Recipes and Techniques
The World AeroPress Championship changed how many people use this brewer by rewarding ideas that bend, or completely ignore, old habits. That change is why these recipes are so interesting. Many winning cups break rules people once stood by, and the results speak for themselves.
One clear pattern is intensity. Competition recipes often use very high coffee doses and tight ratios, sometimes around 1:5 or 1:6. Water temperatures drop well below usual guidelines, while brew times stay short. There’s no long soak or slow extraction here.
Here’s one bold example: 30 grams of coffee with 150 grams of water, ground fine. The water sits around 175°F. The coffee steeps for about 30 seconds, then gets a strong stir and a quick press. Speed matters, since a slow press at this strength can shift the flavor fast.
The result is thick and syrupy. It’s not espresso, but it feels close in weight and punch. Adding hot water can mellow it into something closer to an Americano if you want.
Lower temperatures help keep sweetness, while the AeroPress still extracts plenty. Issues usually pop up if the grind is too fine without a shorter brew, or if the press drags on. Both bring out bitterness.
Competition-style brews aren’t daily picks for everyone, and that’s okay.
Long Steep and Advanced Experimentation
Five minutes can feel endless when brewing with an AeroPress, which is why long-steep recipes sound odd at first. But letting it sit for five to ten minutes is actually the whole point, not a mistake, and the results surprise a lot of people.
This method comes from extraction research. Using lower water heat and full immersion, more time doesn’t automatically mean more bitterness. In fact, it often brings out more sweetness and depth, especially when the temperature stays under control.
A common long-steep recipe uses 20 grams of coffee and 300 grams of water. The grind is medium, the water is about 175°F, and the brew sits for roughly eight minutes before a gentle press. Try to rush it and you lose what makes it work.
The final cup is smooth, rich, and low in acidity. Darker roasts and cheaper beans gain the most, since quick brews can make their rough notes stand out.
Some experienced brewers switch to metal filters to change texture, while others test bypass brewing or pressure changes. Each small change affects feel and balance, so adjusting one thing at a time, and writing it down, helps you really taste what’s going on.
Putting These AeroPress Techniques Into Daily Practice
What really sticks is a short list of AeroPress recipes that work on real mornings, not a long checklist. Doing everything every day gets old fast. Having a couple of reliable options makes brewing easier and keeps you from overthinking it, especially before your first cup.
Most people land on one classic recipe for weekdays. It feels familiar and forgiving, and it works even when you’re half-awake. An inverted recipe often fits better on slower days, like weekends, when there’s time to slow down and enjoy the process without alarms or rushing out the door.
Tools don’t need to be fancy. A simple scale and a basic grinder can carry you a long way toward consistent results. What matters is noticing what you change and keeping everything else the same.
Over time, the differences show up in the cup. Sweetness and acidity are easier to notice, and brews stop tasting the same.
If you’re curious to go further, grind quality and water chemistry are worth learning. Those details carry over to other brew methods and quietly make everything better.
Your Next Brew Starts Now
The AeroPress leaves plenty of space to experiment. That’s why people use it for everything from quick upright cups to competition‑style shots. It bends around personal taste, so the brewer follows how someone likes to work, not the other way around.
This guide starts with the basics, then moves through the classic and inverted methods, followed by advanced recipes and newer trends. These AeroPress techniques connect and build on each other. Going through them at a relaxed pace helps each one click. Spending a little time with every method makes the differences easier to taste.
Instead of trying everything at once, picking one method works best. Brewing it twice in a single week shows more than rushing ahead. The second time, a small change, grind size, water temperature, or timing, gives something clear to notice in the cup.
Coffee fits neatly into daily routines, but having control over the brew can change how that routine feels. The AeroPress gives that control without making the process feel like work.
What does that look like day to day? You’ll find the rhythm fast: water heating, beans ground, a slow press, and a quiet pause before the first sip.